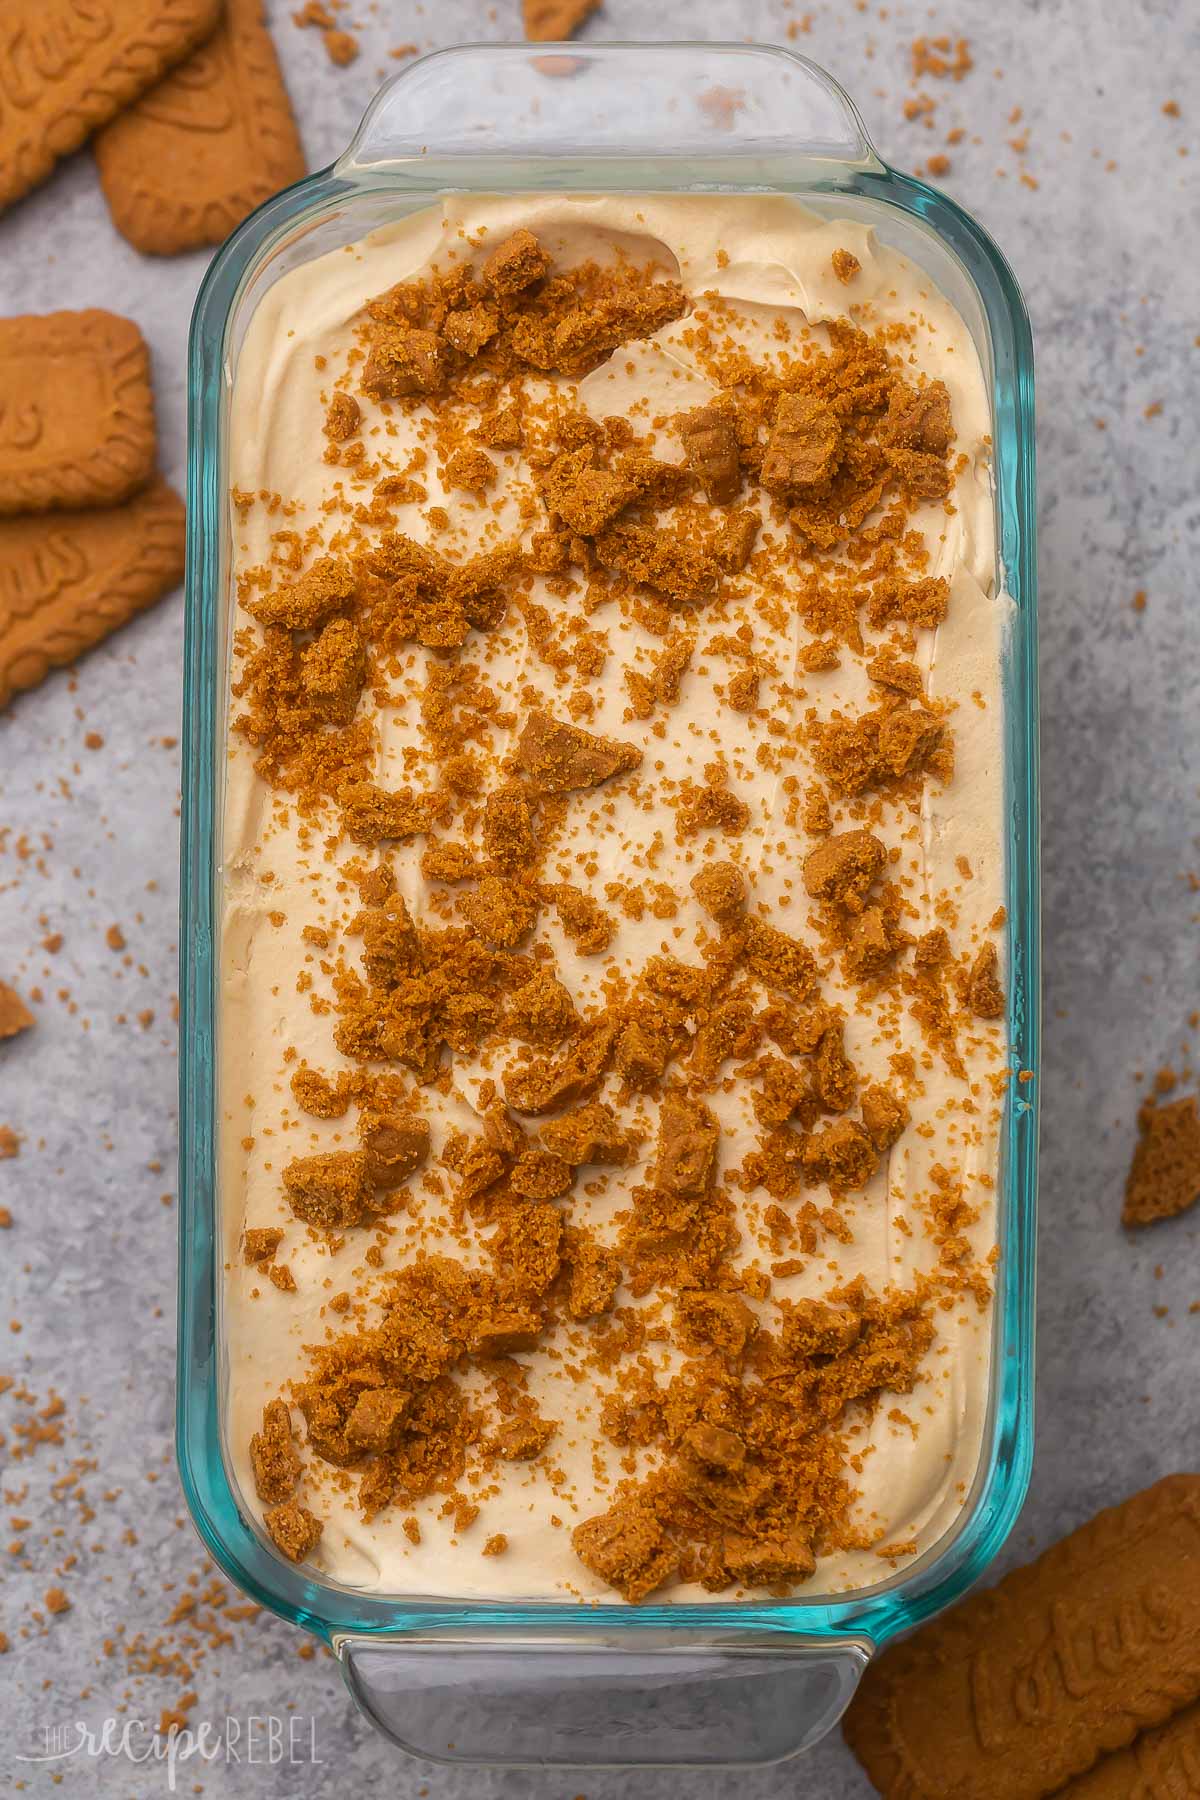
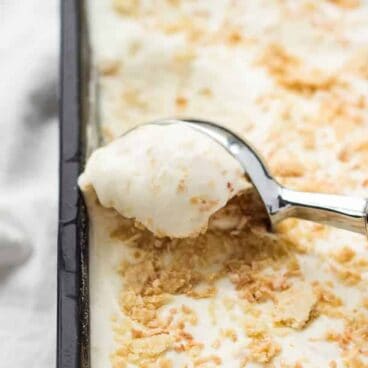
No Churn Biscoff Ice Cream is made with sweet vanilla ice cream and Biscoff cookie butter, with a layer of crumbled Lotus Biscoff cookies in the middle, with more crumbled cookies on top.
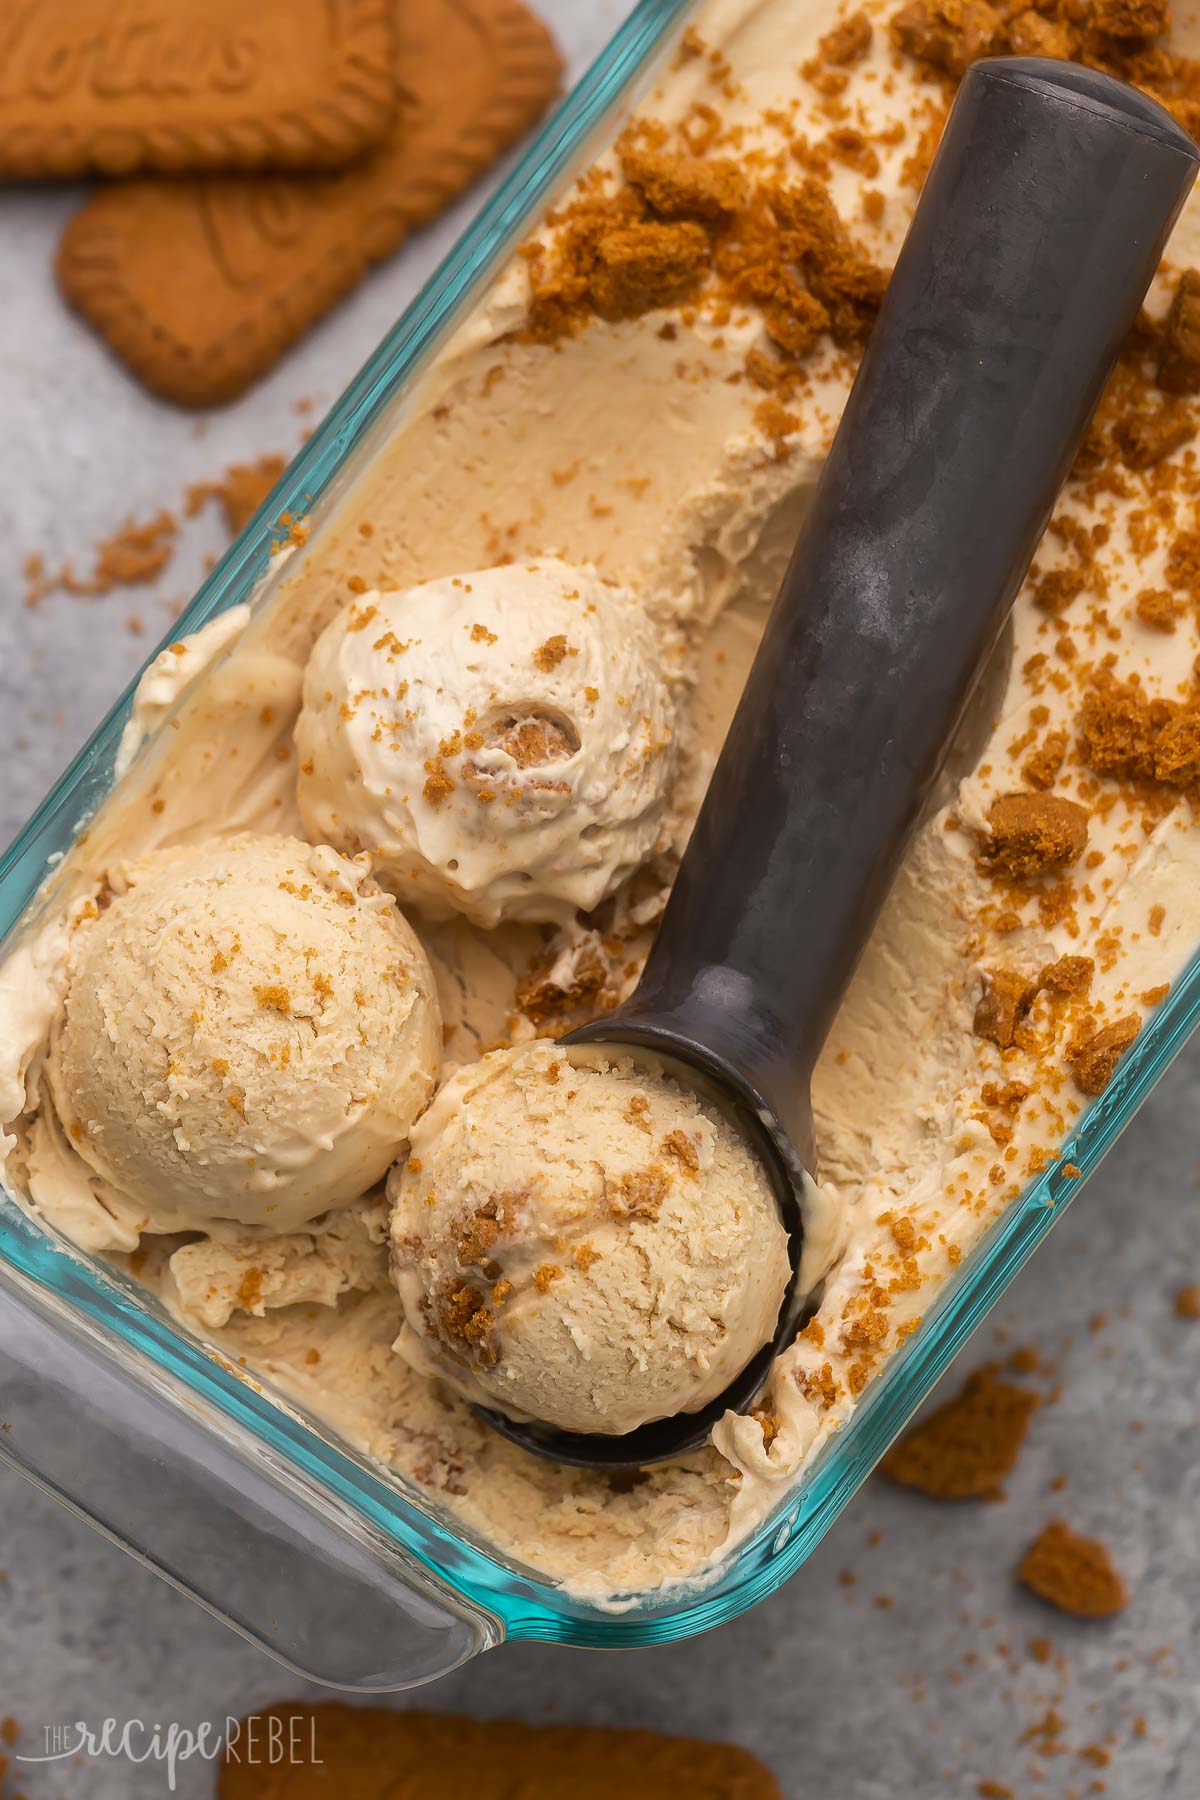
Table of Contents
We are big fans of Biscoff cookie butter around here.
We will spread it on pancakes, waffles, toast, and occasionally eat it by the spoonful (tell me you haven’t done the same!).
It’s a heavenly, creamy cinnamon experience in every bite.
This No Churn Biscoff Ice Cream recipe combines Biscoff cookie butter with the best of desserts: Ice Cream!
Perfect for hot summer days or cozying down with a movie, this easy Biscoff ice cream recipe is a winner.
This no-fuss no churn ice cream (based on my classic No Churn Ice Cream recipe) requires only 5 minutes of hands-on time, and there’s no need for an ice cream machine!
Try my No Churn Chocolate Ice Cream, Coffee Ice Cream, my No Churn Cherry Cheesecake Ice Cream, No Churn Turtle Ice Cream or this easy Ice Cream Sandwich Cake next!
Ingredients Needed:
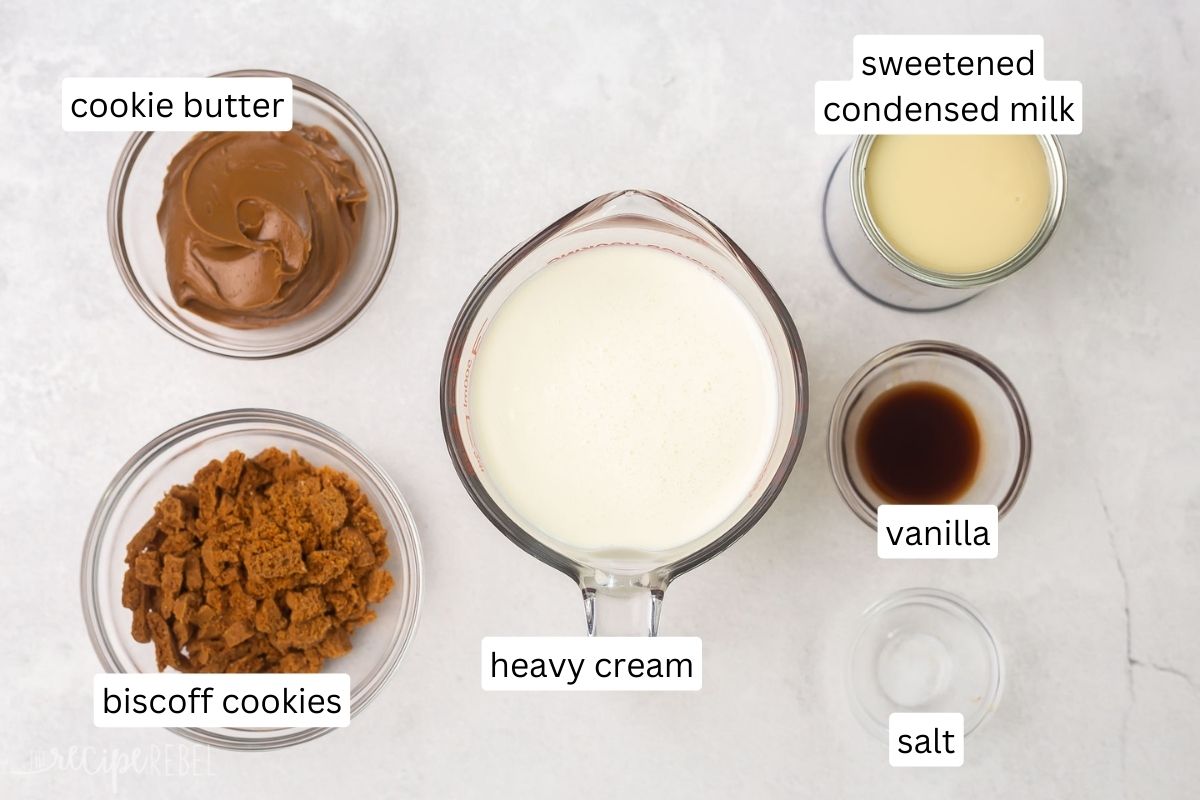
- Heavy Cream: use full-fat Heavy Whipping Cream for really creamy ice cream. I wouldn’t recommend switching this out — the fat and the air bubbles are needed for a light and creamy ice cream.
- Sweetened Condensed Milk: adds to the creaminess of the ice cream, and sweetens it too.
- Cookie Butter: use the Lotus Biscoff brand of cookie spread for a classic Biscoff taste, but store brand is fine if that’s what you’ve got! I’ve used the smooth one, but you can try crunchy if you like. You can use other spreads for a different flavor too.
- Vanilla Extract: this will give your ice cream a warm and sweet vanilla flavor.
- Salt: adding salt will help cut through the sweetness and enhance the flavors.
- Cookies: of course, we need crumbled Biscoff cookies for the crumbled cookie layer and to add on top!
How to Make No Churn Biscoff Ice Cream
This easy recipe only has a few steps. Full instructions are included in the recipe card below.
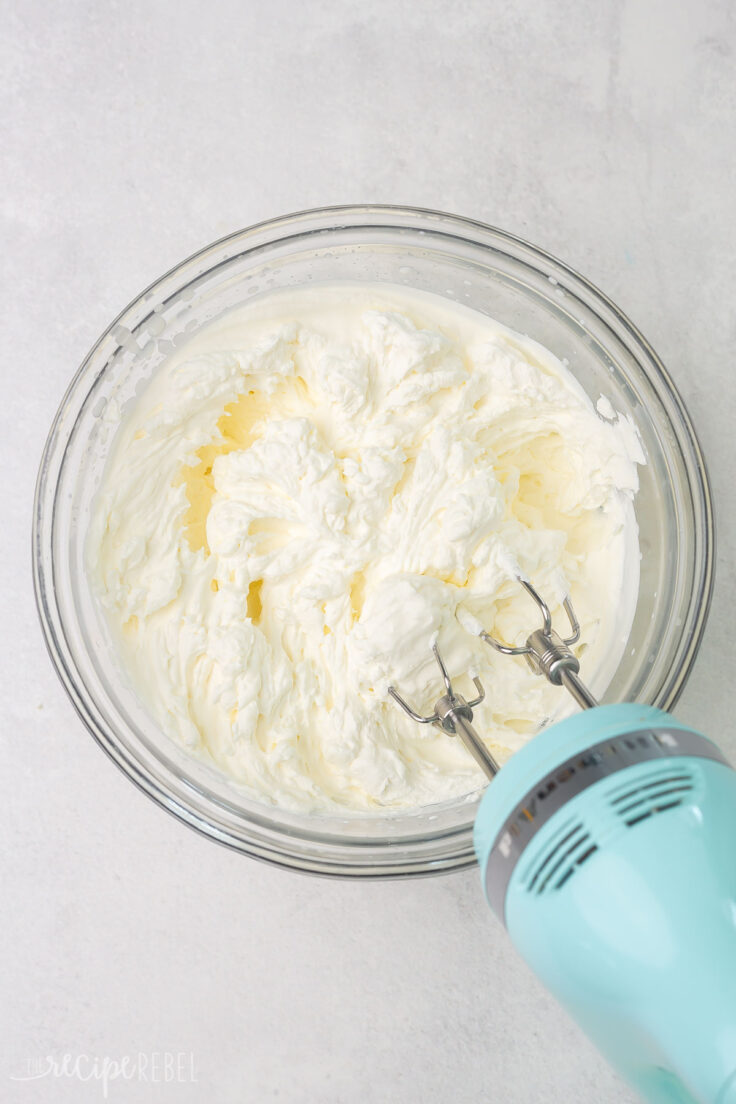
- Beat cream: Beat the cream until stiff peaks form.
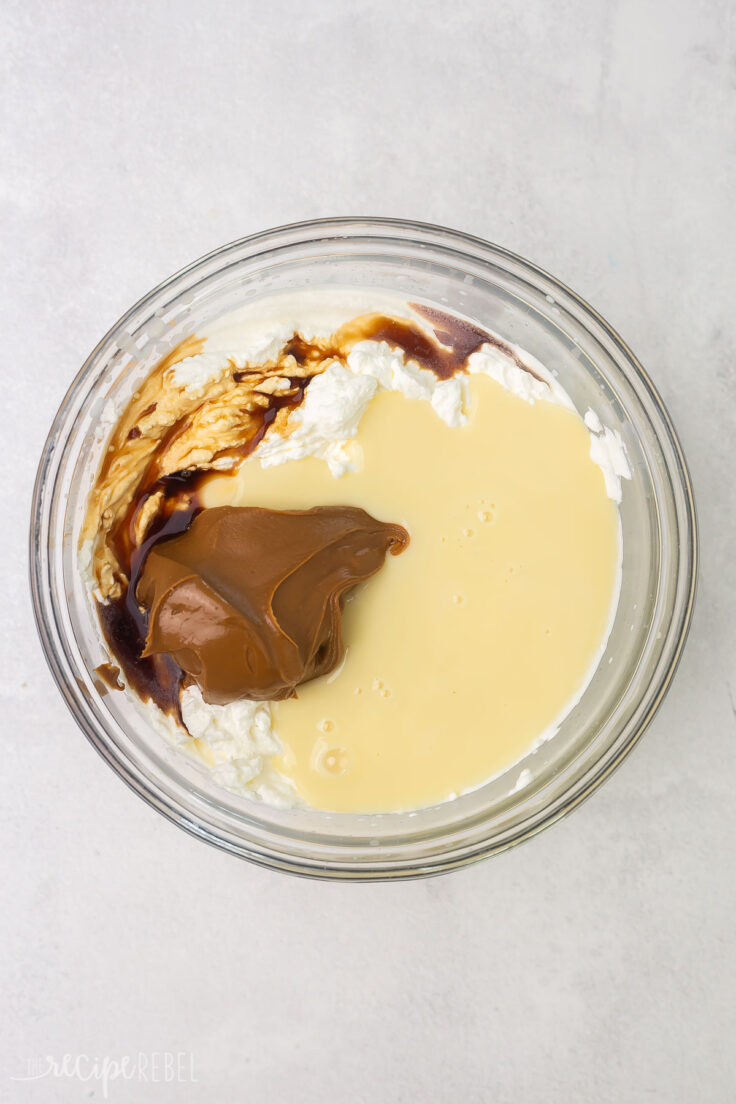
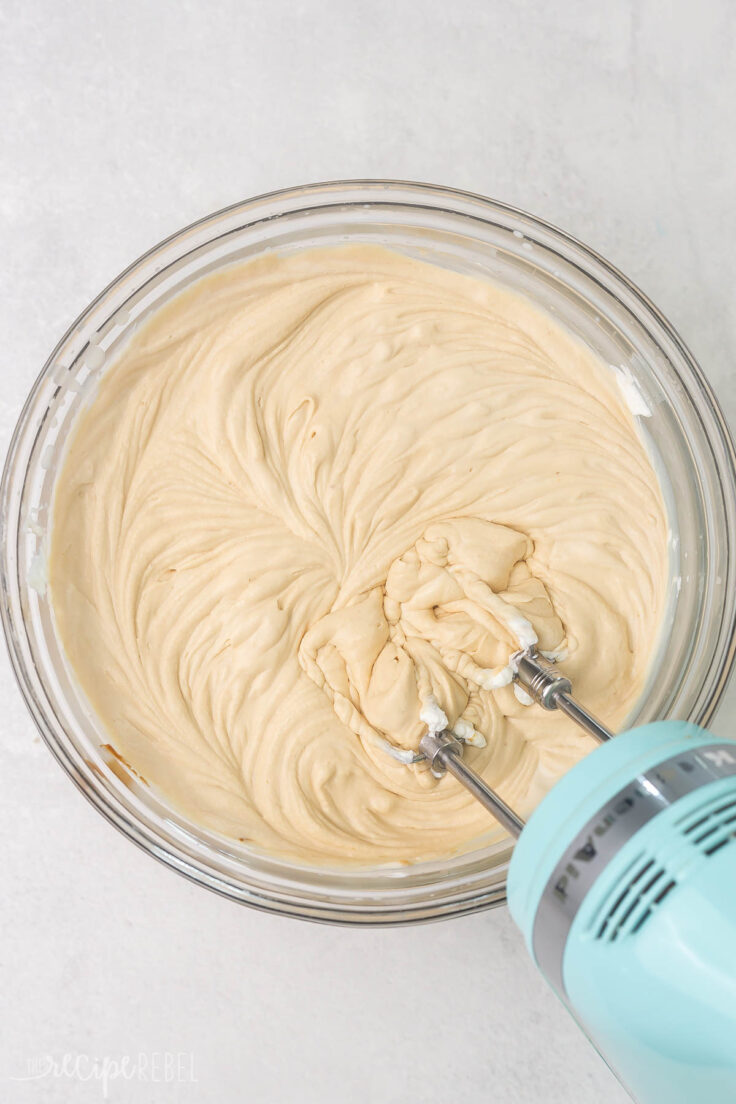
- Mix in other ingredients: Add in the sweetened condensed milk, cookie butter, vanilla, and salt.
- Combine: Beat together to combine.
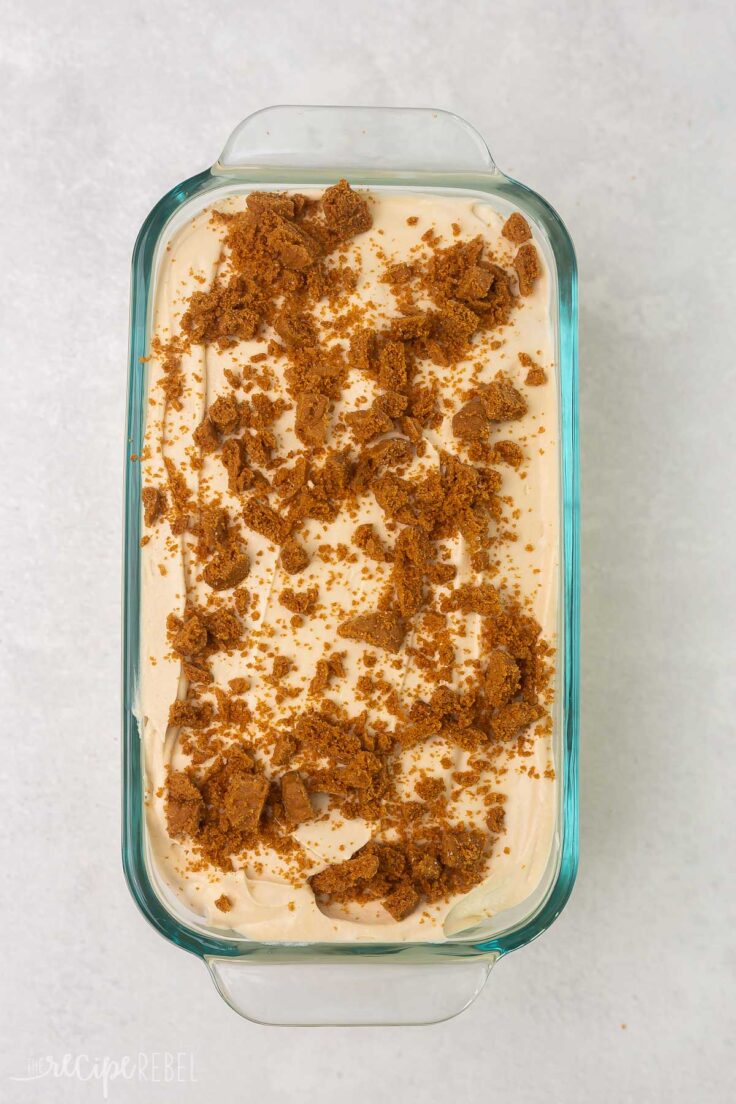
- Assemble and freeze: Spread half of the ice cream into a loaf pan and add half of the crumbled cookies. Repeat with the remaining ice cream mixture and cookie, then freeze until firm.
How do I store No Churn Biscoff Ice Cream?
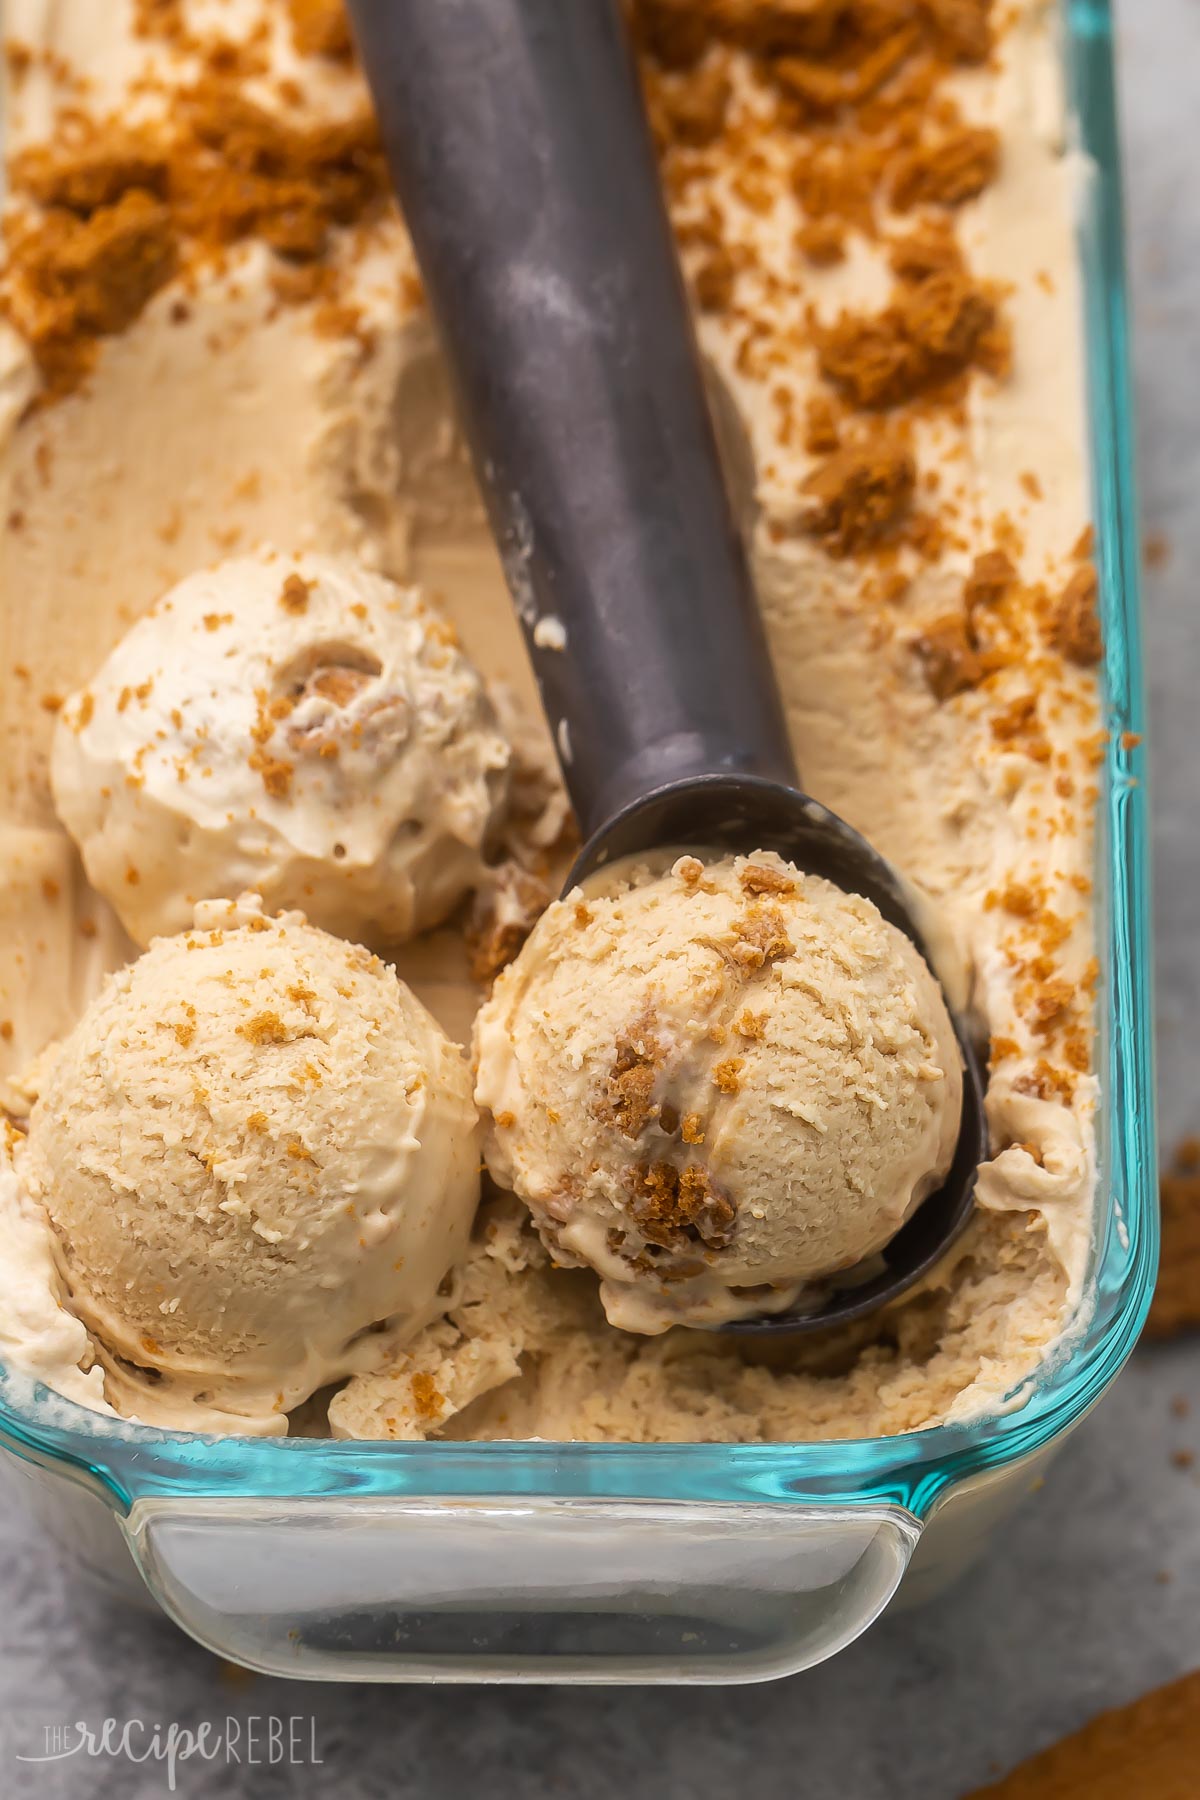
This homemade Biscoff ice cream needs to be stored in the freezer and can keep well for up to 3 months.
Let it sit at room temperature for about 10 minutes before serving it. Remember to use a freezer-safe container to make it. If you’ve used a loaf pan or dish for your ice cream, you can cover it tightly in plastic wrap and store it in the freezer.
Tips and Notes
- Mixer. You don’t need an ice cream maker for this recipe, but you can use a stand mixer with the whisk attachment if you have one. Otherwise, an electric mixer and a large bowl will work fine.
- Cream: There is no substitute for heavy whipped cream in this recipe. Other creams won’t incorporate as much air and will be heavy and icy.
- Sweetened condensed milk: I have not tested this recipe with any other sweeteners. It’s important to note that the sugar prevents the ice cream from freezing too firmly, so if you reduce the sweetness or use a different kind you may find your ice cream very hard and icy.
- Yogurt: Although not listed in this recipe, sometimes I like to add some plain Greek yogurt or sour cream to cut down on the sweetness. This is optional! Be sure to use full-fat yogurt so that your ice cream does not turn out icy.
No Churn Biscoff Ice Cream Variations
- Mix up the cookies. You can make ice cream like this with any kind of cookies and spreads for a different flavor. Try Oreos, Nutter Butters, chocolate chip cookies, you name it!
- Cookie butter. You can’t make cookie butter ice cream without cookie butter! However, you can swap this for peanut butter or Nutella for an interesting twist.
- Topping. Melt some cookie spread and use it as a drizzle for the top of your ice cream, or add chocolate chips, or chocolate curls – anything goes!
Serving Suggestions
Serve this ice cream on its own or with extra toppings like cinnamon sugar or white chocolate curls.
It would also taste great with some Dulce de Leche (Easy Caramel Sauce), or some Homemade Whipped Cream.
This delicious ice cream is also great for serving with desserts. Try it with my Lemon Blueberry Cream Cheese Coffee Cake Recipe, this Slow Cooker Gingerbread Pudding, or my Apple Spice Cake.
More Easy Frozen Dessert Recipes To Try
No Churn Biscoff Ice Cream
Ingredients
- 2 cups heavy whipping cream
- 300 ml can sweetened condensed milk (14 oz)
- ½ cup Biscoff cookie butter
- 1 tablespoon vanilla
- 1 pinch salt (optional)
- 6 Biscoff cookies (crumbled)
Instructions
- In a large mixing bowl, beat cream with an electric hand mixer on medium speed until stiff peaks form.
- Add sweetened condensed milk, cookie butter, vanilla, and salt (if using).
- Beat on low speed just until combined (or use a spatula to fold it in).
- Spread half of the ice cream into a loaf pan or 2-quart baking dish and sprinkle with half of the crumbled cookies. Repeat with the remaining ice cream mixture and cookies.
- Freeze until firm.
- Allow it to come to room temperature for 15-20 minutes before serving for the best texture.
Notes
- Cream: there is no substitute for heavy whipping cream in this recipe. Other creams won’t incorporate as much air and will be heavy and icy.
- Sweetened condensed milk: I have not tested this recipe with any other sweeteners. It’s important to note that the sugar prevents the ice cream from freezing too firmly, so if you reduce the sweetness or use a different kind you may find your ice cream very hard and icy.
- Cookie butter: you can’t make cookie butter ice cream without cookie butter! However, you can swap this for peanut butter or Nutella for an interesting twist.
- Vanilla: this is a must for vanilla ice cream but you can swap it with any extract you like.
- Salt: a little salt helps to cut through the sweetness. You can omit it if you prefer.
- Yogurt: Although not listed in this recipe, sometimes I like to add some plain yogurt or sour cream to cut down on the sweetness. This is optional! Be sure to use full-fat yogurt so that your ice cream is not icy.
- Freeze: This homemade Biscoff ice cream needs to be stored in the freezer and can keep well for up to 2 months. Let it sit at room temperature for about 10 minutes before serving it. Remember to use a freezer-safe container to make it. If you’ve used a loaf pan or dish for your ice cream, you can cover it tightly in plastic wrap and store it in the freezer.
Nutrition Information
Want to save this recipe?
Create an account easily save your favorite content, so you never forget a recipe again.
Tried this recipe?
Tag @thereciperebel or hashtag #thereciperebel — I love to see what you’re making!
Tag @thereciperebel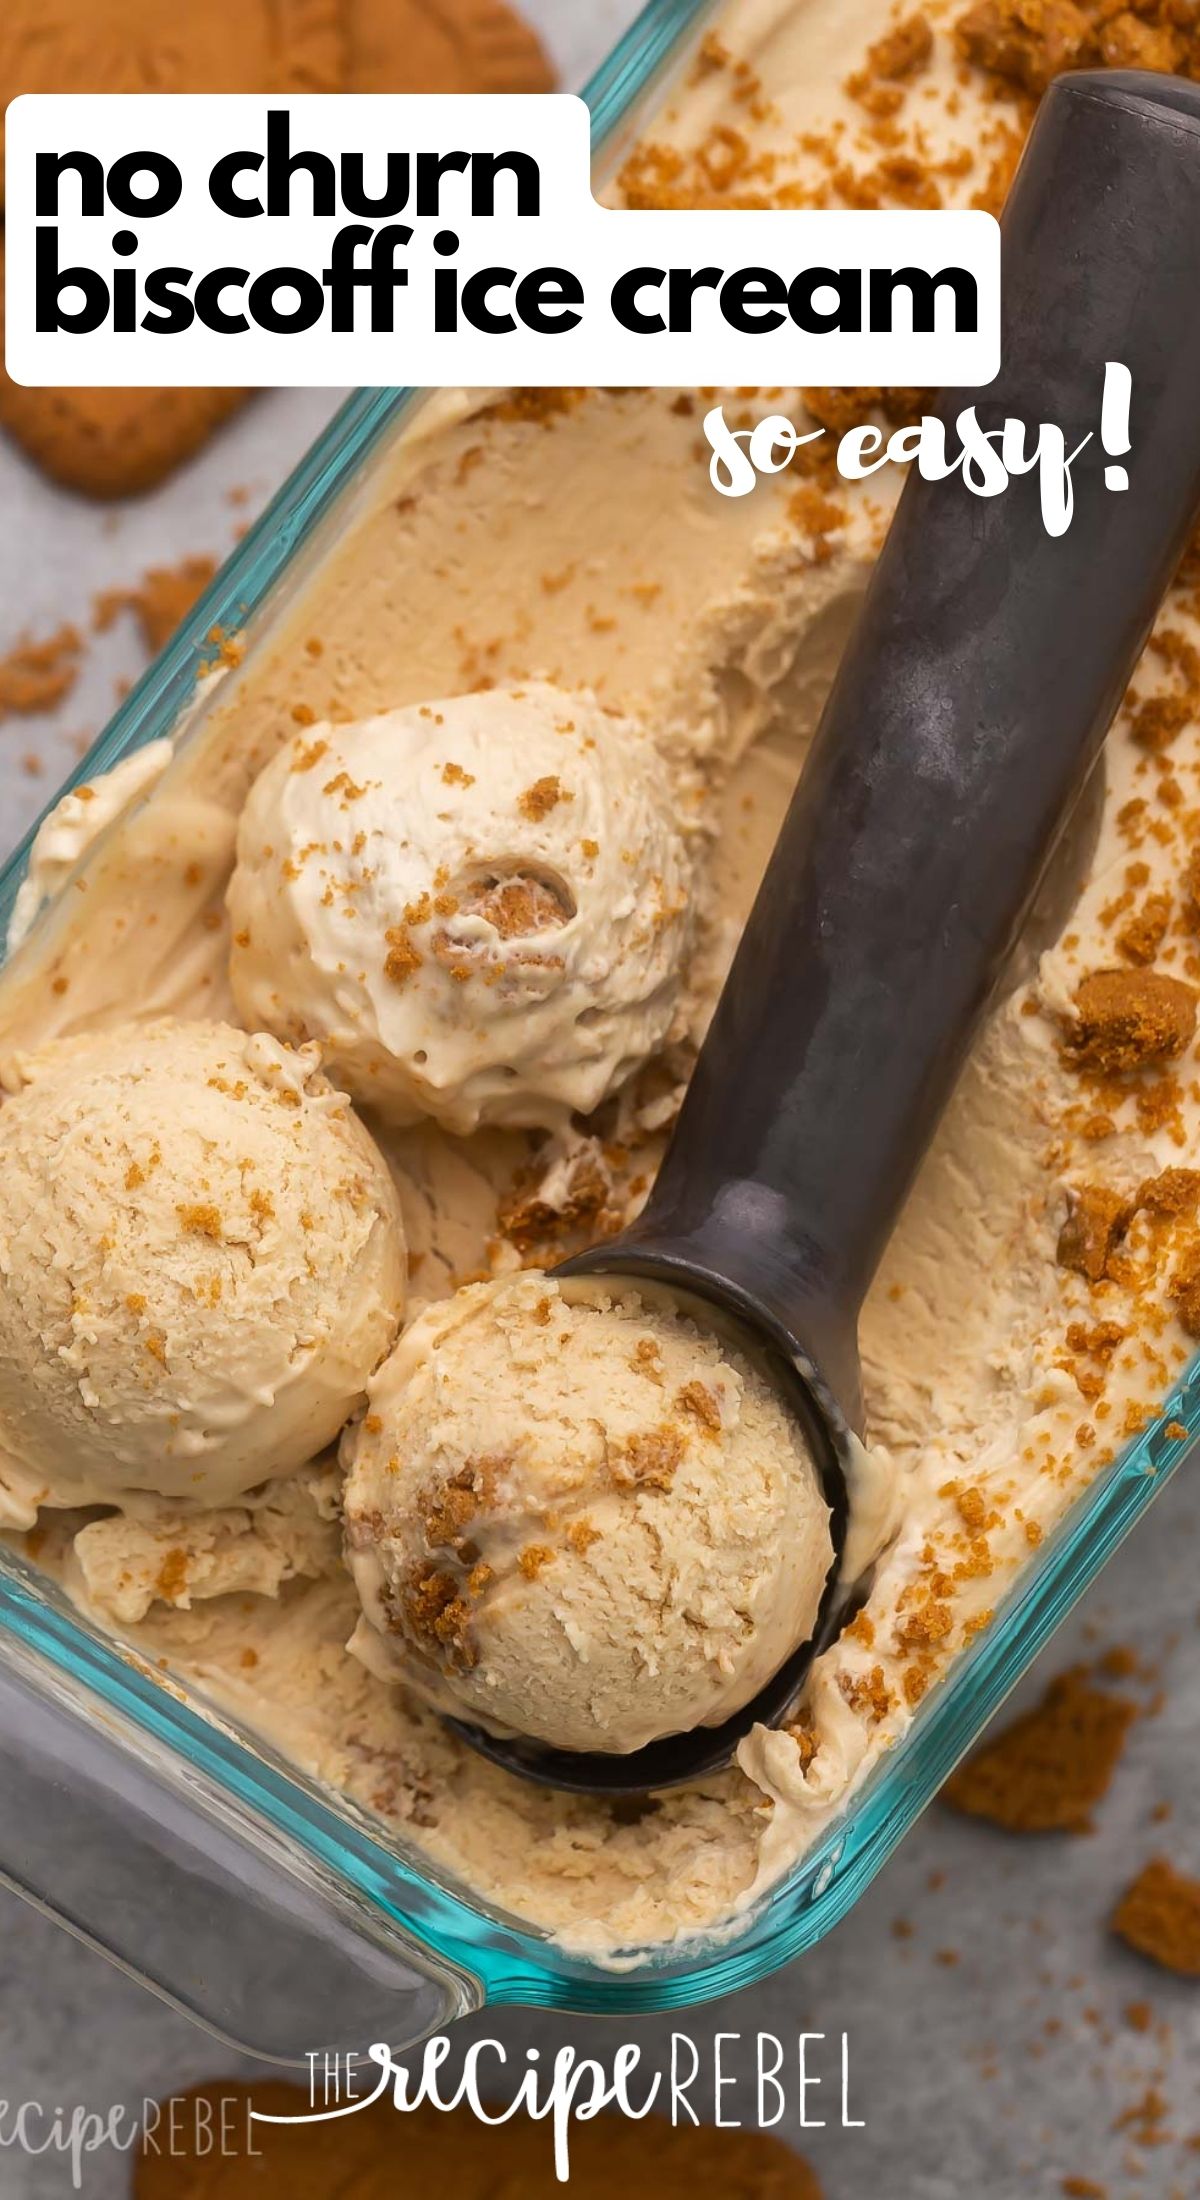



Leave A Reply