These homemade Chicken Taquitos are packed with classic Mexican flavors, a juicy shredded chicken filling, healthy veggies, and melted cheese. Serve with your favorite Mexican sides or garnishes for an easy dinner recipe the whole family will love!
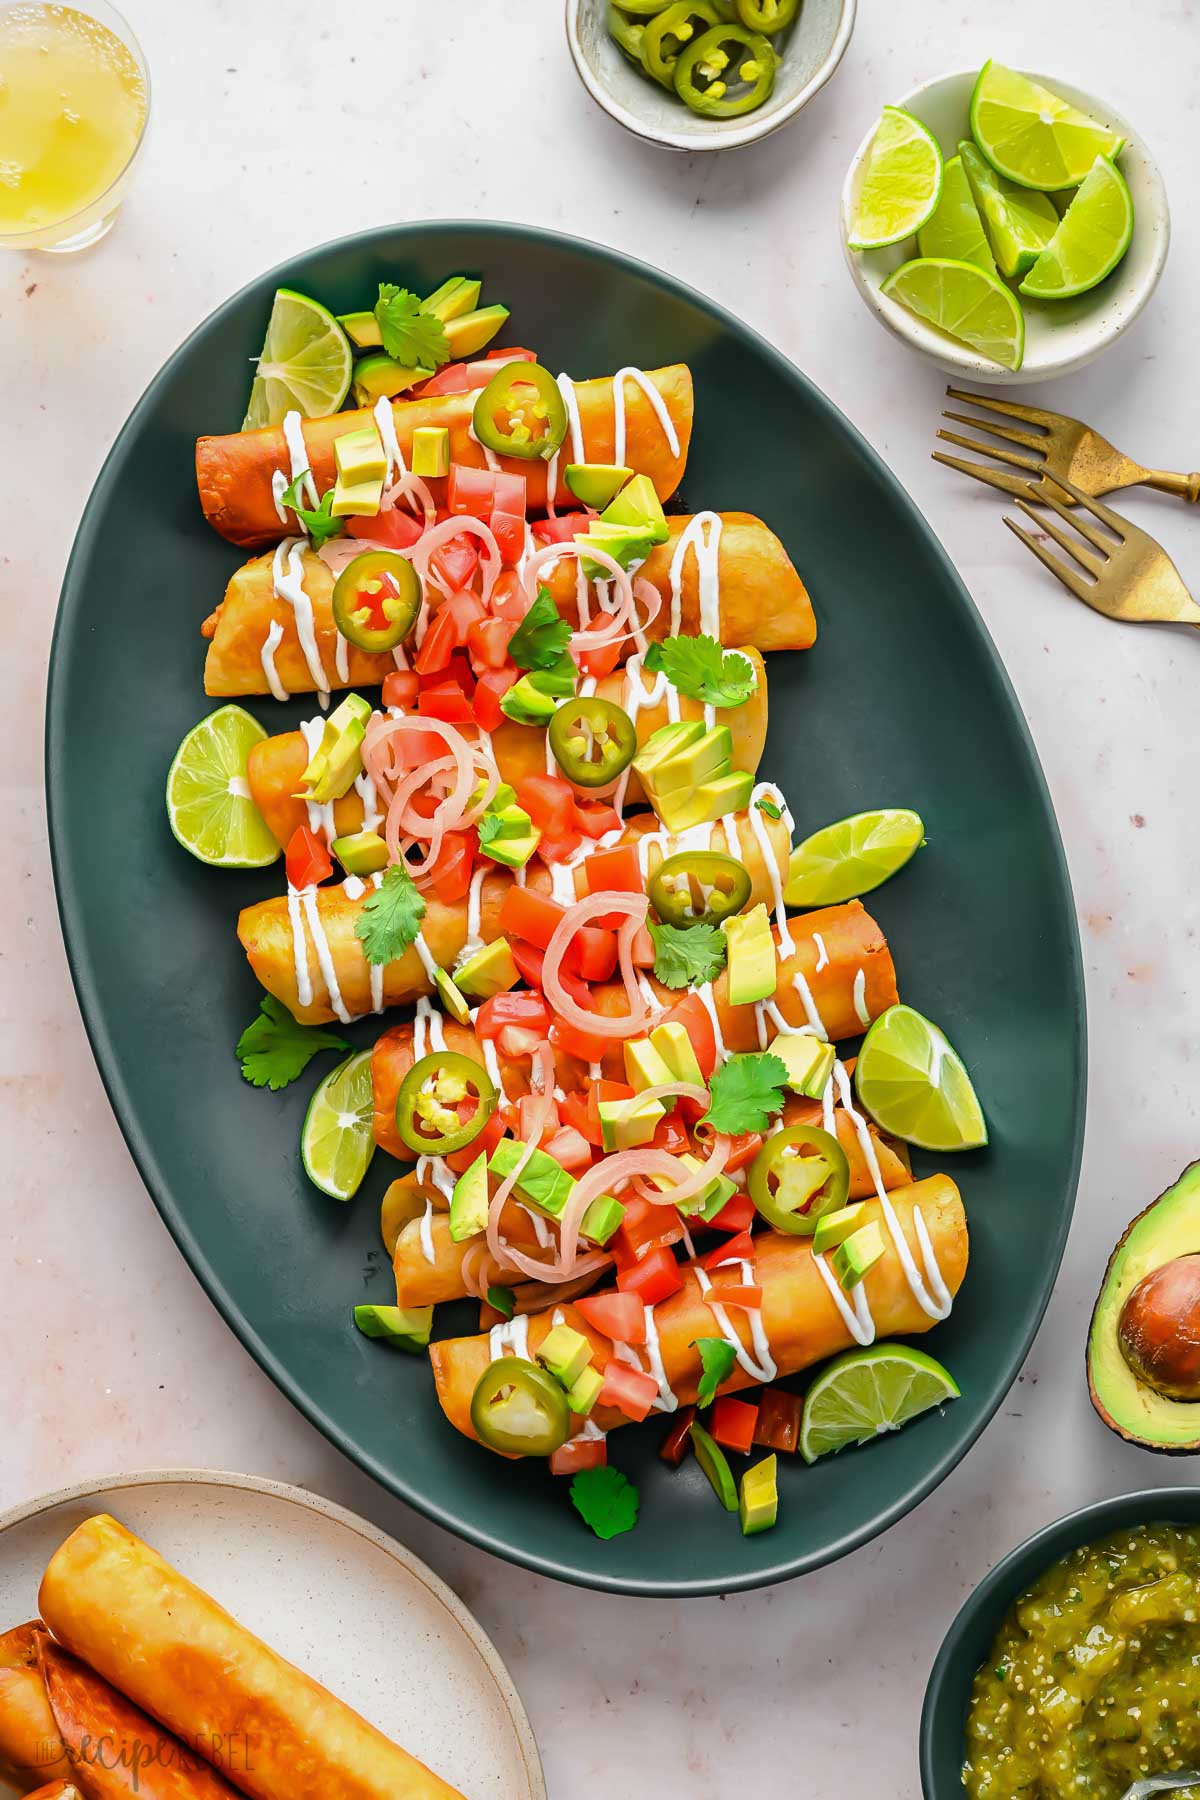
Table of Contents
These Chicken Taquitos are perfect for just about any occasion, from busy weeknight dinners to appetizers for parties and Game Day.
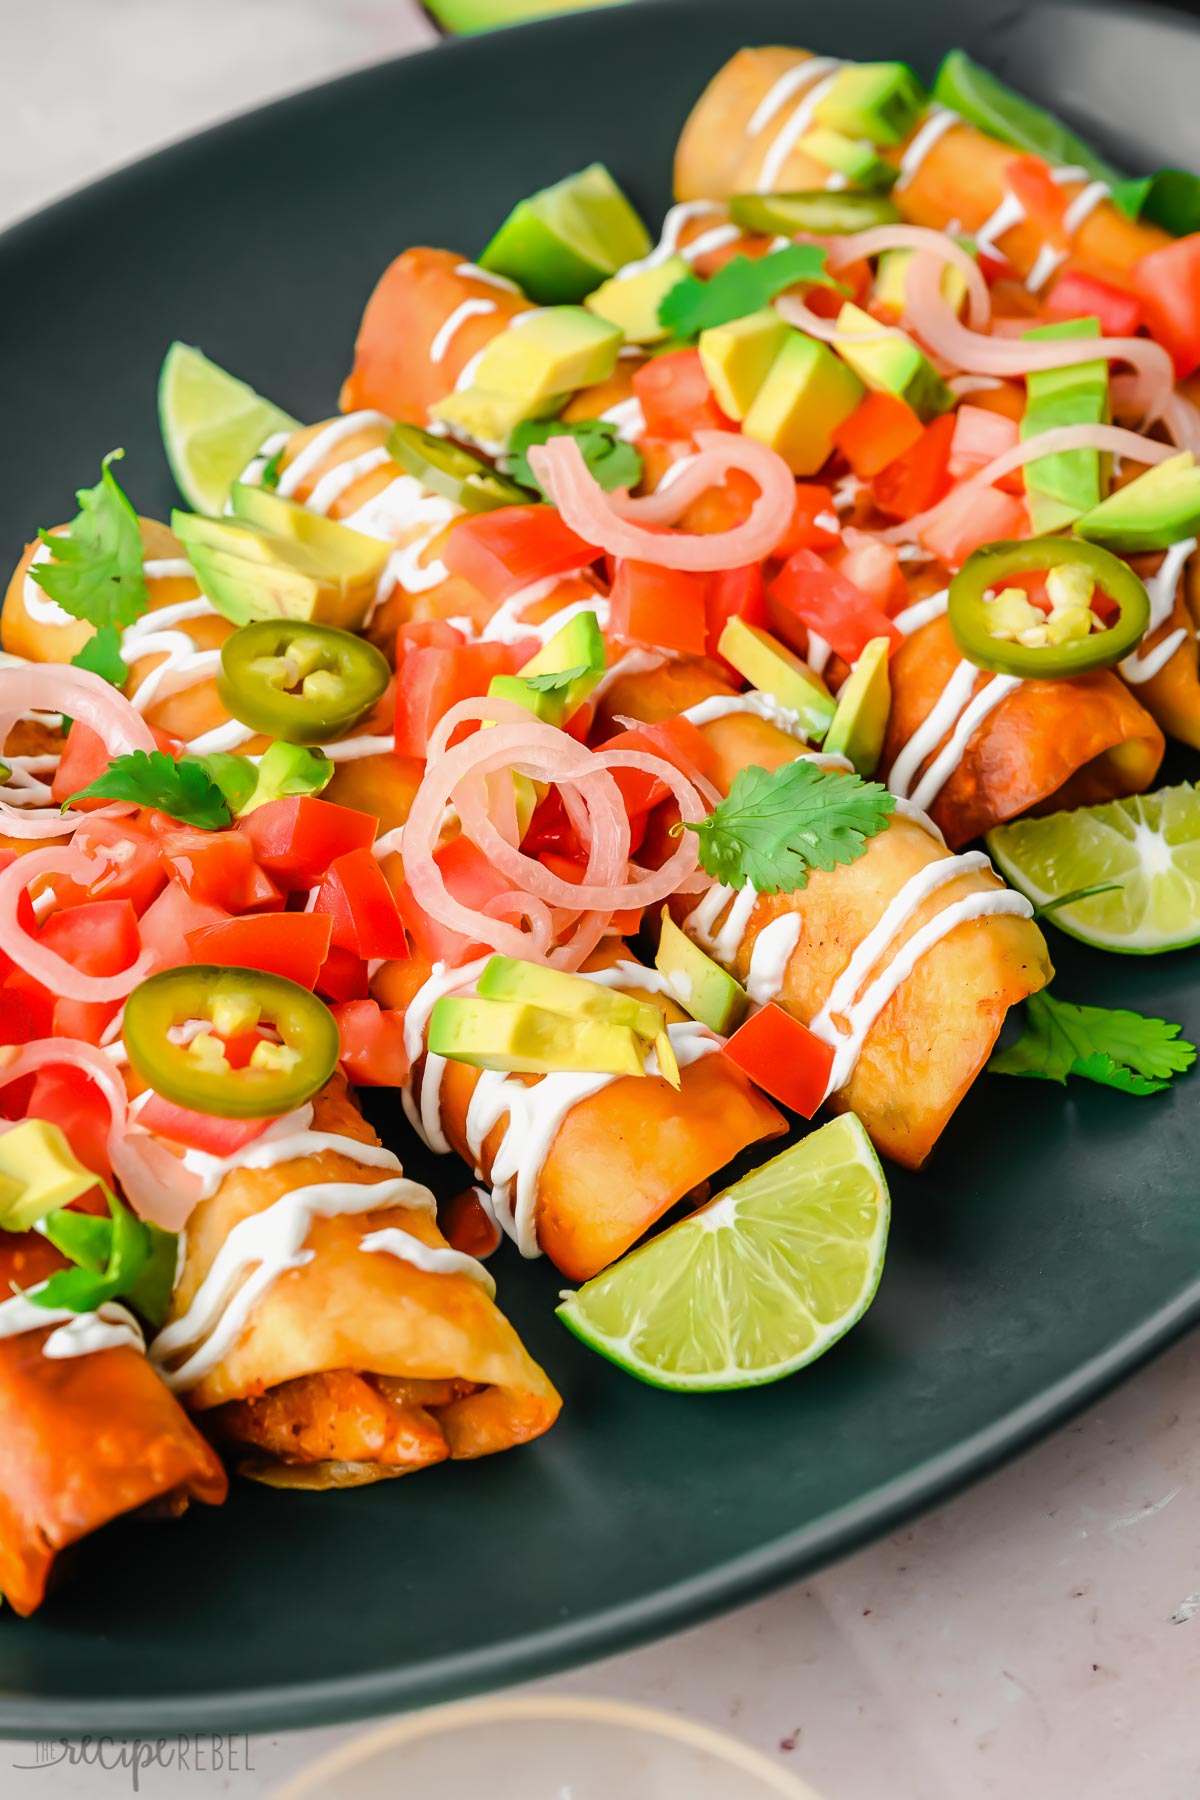
They are tortilla wraps filled with shredded chicken, veggies, and cheese, in a creamy salsa sauce, that are cooked to a crispy perfection!
This recipe is a family favorite because it’s so easy to make, but also becasue we can enjoy our taquitos in different ways.
You can change up the meat, add rice or beans, use different garnishes, and serve them with different sides.
I’ve included 3 different ways of making them crispy as well – either in the oven, on the stovetop (you don’t need a deep fryer), or in the air fryer!
Try these crispy bites of delicious Mexican flavor tonight!
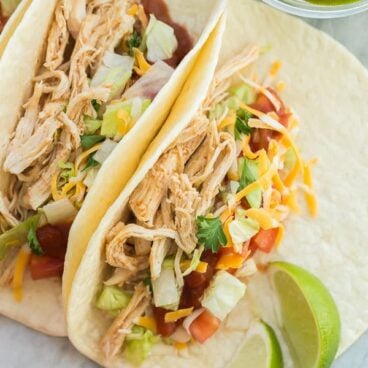
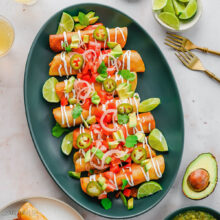
For more quick and easy dinner recipes using shredded chicken, check out my One-Pot BBQ Chicken and Bacon Pasta, these Instant Pot Chicken Tacos, and my Easy Chicken Enchiladas.
Ingredients Needed:
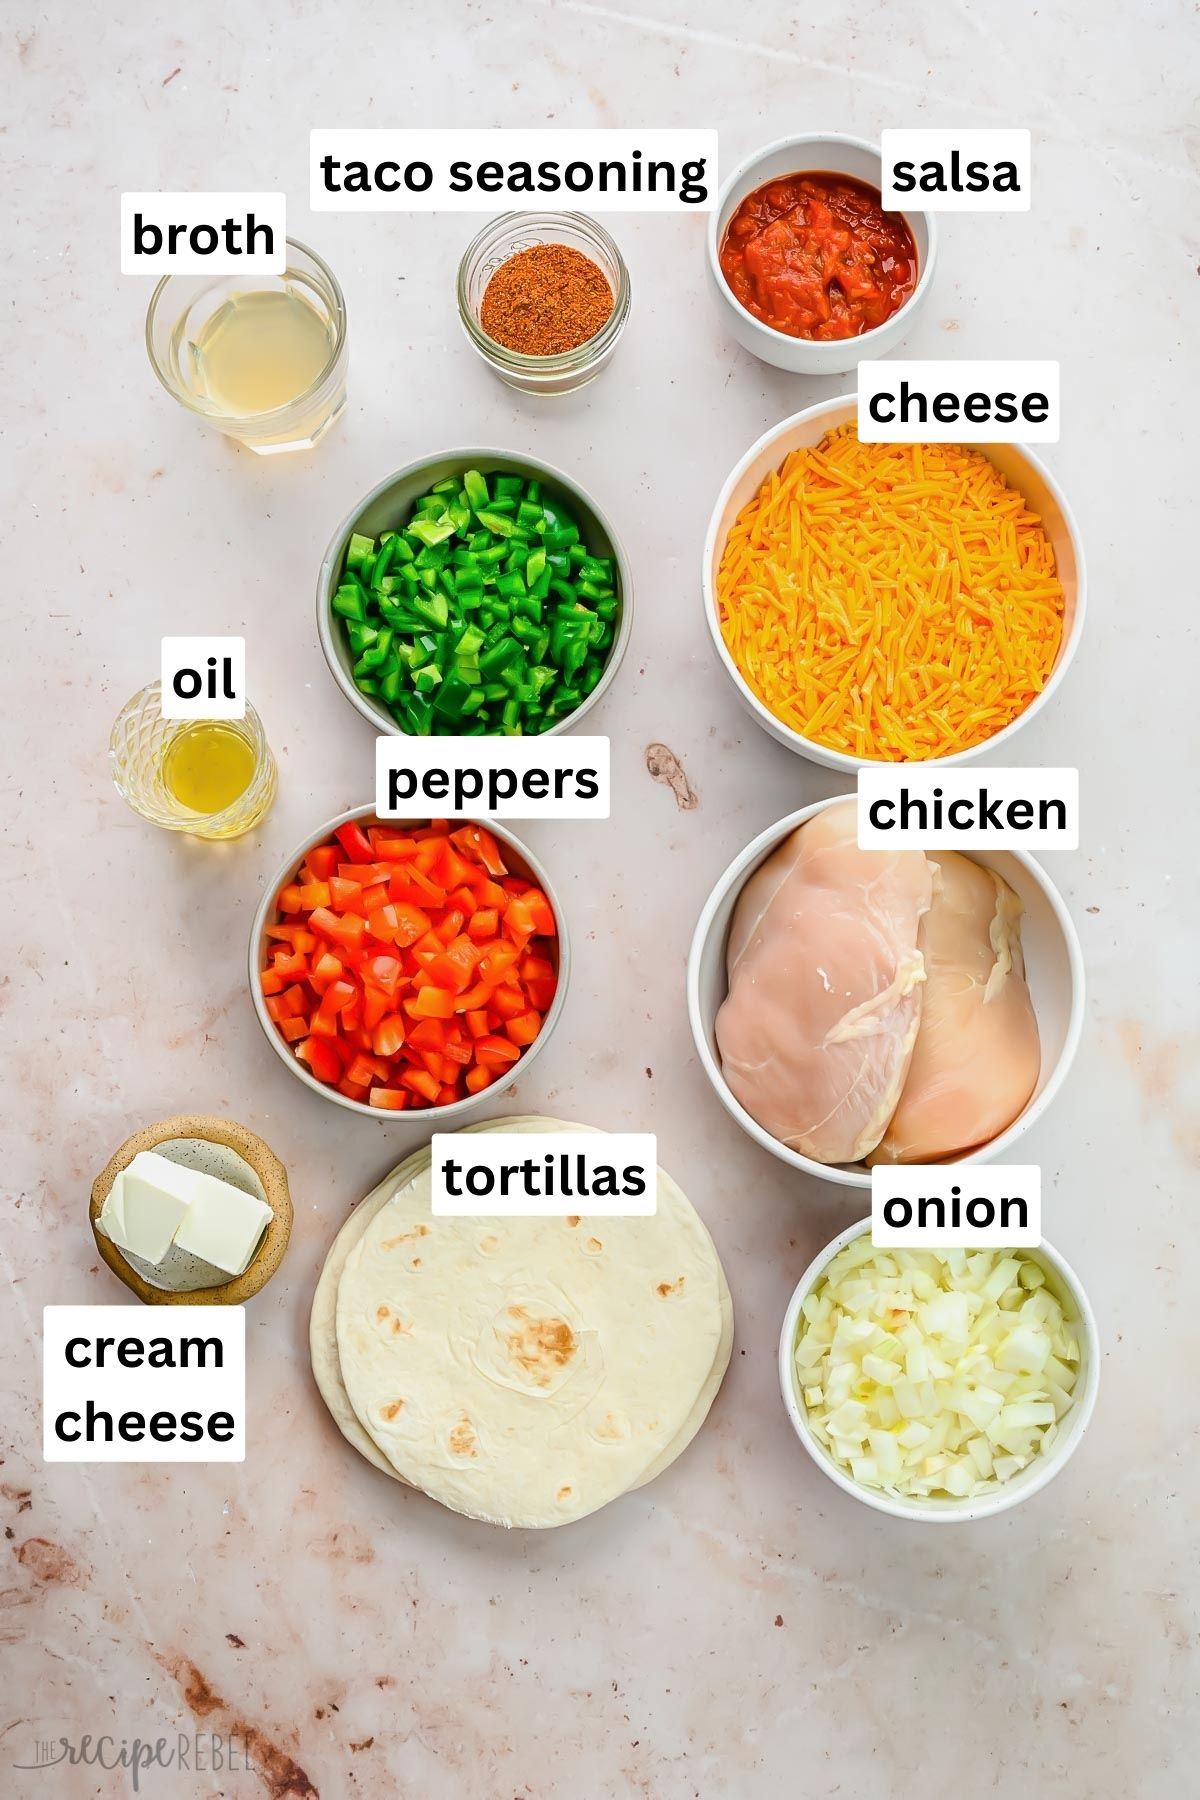
- Oil: Olive oil, canola oil, vegetable oil, or another neutral-flavored oil will be good for sautéing the veggies.
- Vegetables: Use an onion, green pepper, and red pepper for a fresh, savory flavor.
- Chicken: I use raw, boneless, and skinless chicken breasts for these homemade taquitos. If you have leftover Shredded Chicken or Crockpot Shredded Chicken, feel free to use that instead!
- Seasoning: one package of taco seasoning is enough for this recipe.
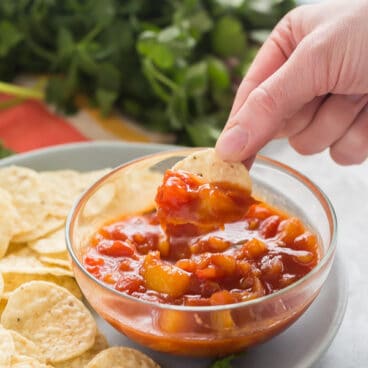
- Salsa: choose a thick salsa (not too watery), mild, or spicy according to your tastes. Try my Homemade Salasa recipe, or even a Mango Salsa to mix the flavors up a bit!
- Broth: I always use low sodium chicken broth to better control the saltiness of dishes.
- Cream Cheese: use full-fat, plain cream cheese for the best flavor and creamiest texture.
- Cheese: I’ve used cheddar cheese here, as it’s got a great flavor and melts really well.
- Tortillas: I tend to use flour tortillas, but corn tortillas are a great gluten-free choice here if you prefer.
- Garnish: use your favorite toppings like sour cream, shredded lettuce, chopped fresh cilantro, and chopped tomatoes.
How to Make Chicken Taquitos
This recipe is easy to make! Full instructions are included in the recipe card below.
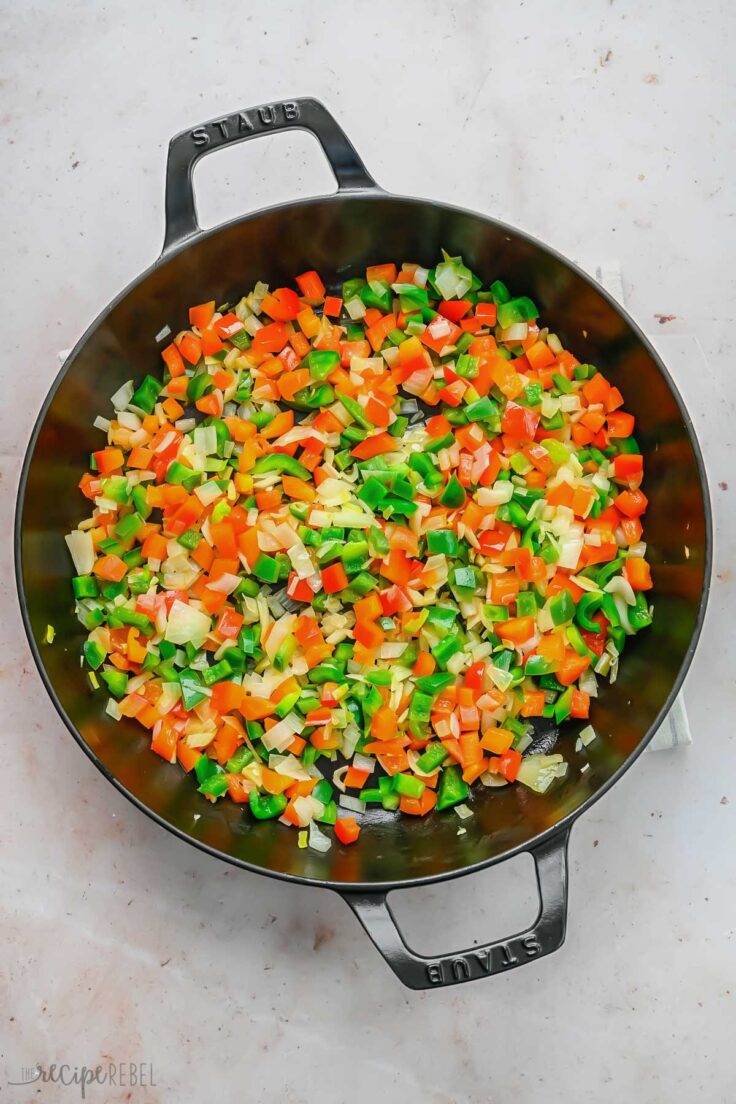
- Sauté veggies: Sauté the onions and peppers until crisp-tender.
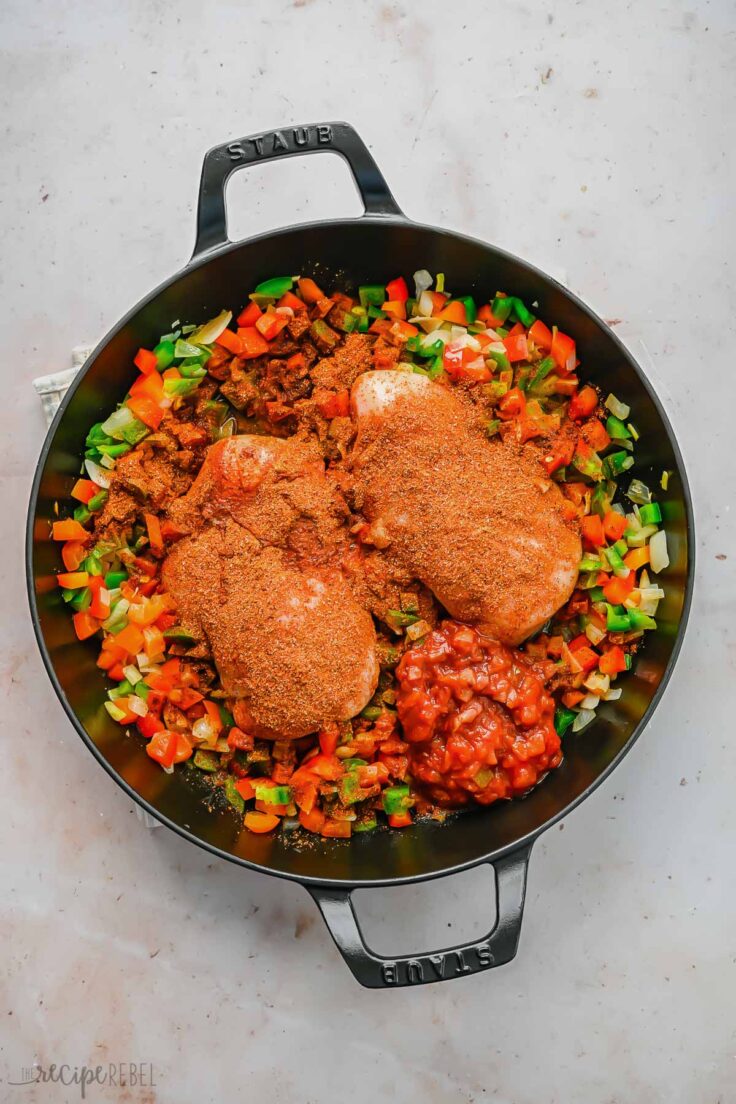
- Add chicken and season: Add the chicken breasts along with taco seasoning, salsa, and broth and cook.
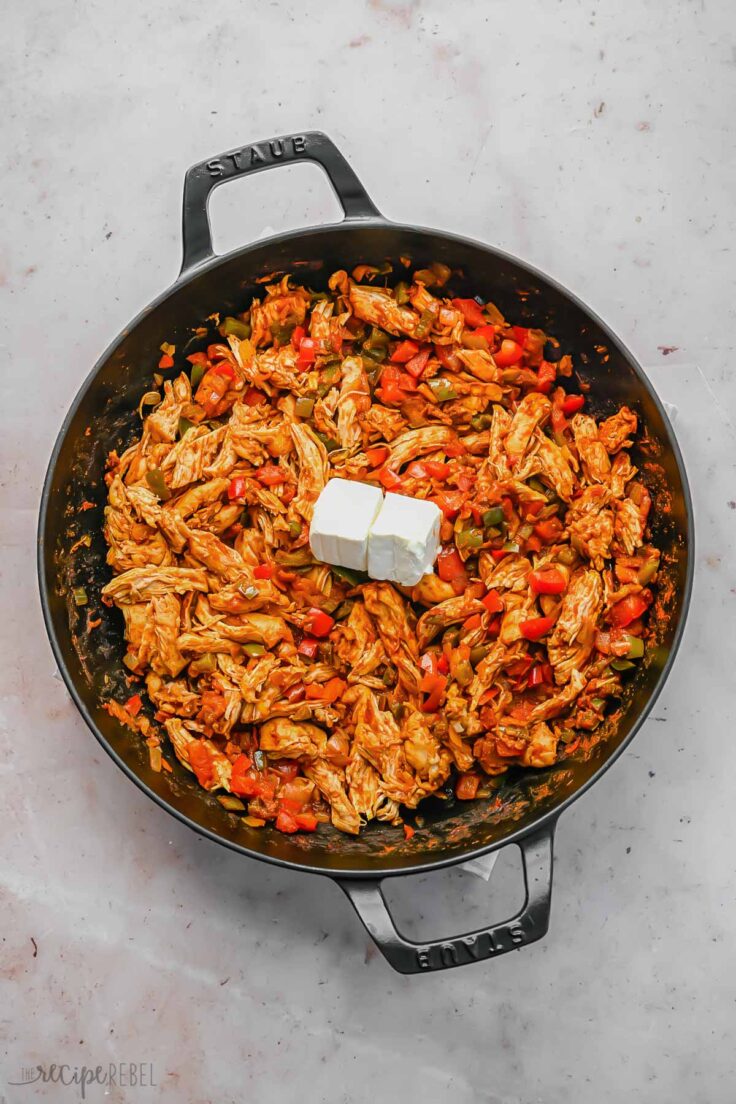
- Shred chicken and add cream cheese: Remove the chicken from the pan and shred it, then stir it back into the pan with the cream cheese. Allow the cream cheese to melt.
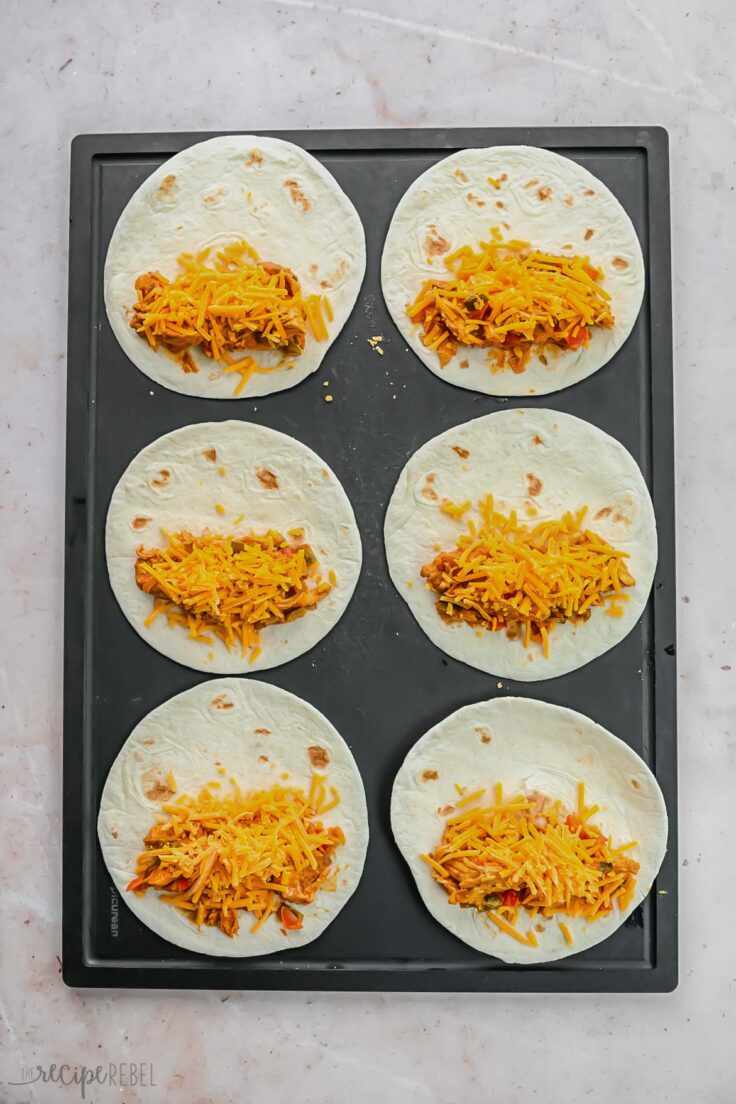
- Assemble taquitos: Remove from the heat and allow it to cool slightly. Divide the filling between 8-10 tortillas and sprinkle cheese on top. Roll them up tightly, ready to be cooked. Cook as desired: pan fry, bake or air fry! See more details in the recipe card.
Chicken Taquitos FAQs
You can make the filling up to a day in advance and store it in the refrigerator in an airtight container. Then simply divide it between the tortillas and bake them. I wouldn’t recommend storing assembled and uncooked taquitos in the refrigerator, as the wraps will go soggy. You can freeze them assembled, though; see below for more info.
Store your chicken taquito filling in an airtight container in the fridge for up to 4 days. You can also keep assembled and cooked chicken taquitos wrapped in plastic wrap or in an airtight container in the refrigerator for up to 4 days. Allow everything to cool to room temperature before storing it. The longer the assembled taquitos are stored, the soggier they will become. I recommend storing with paper towel to absorb excess moisture.
To reheat them, place them on a baking sheet and spray with cooking spray. Bake in a 350 degree F oven for about 15 minutes, or until they are heated through thoroughly and crispy on the outside. Alternately, reheat them in an air fryer for a couple of minutes.
This is a great freezer meal, so save it for your meal prep days! You can either freeze the filling or the assembled taquitos.
Place the filling or the assembled taquitos in a freezer bag or freezer-safe container and freeze for up to 3 months. Remove the taquitos from the freezer and place them on a baking sheet or dish lined with parchment paper. Bake for 20-30 minutes, until heated through, turning once.
Chicken Taquitos Variations
- Use different meat. You can swap the chicken breast for boneless, skinless chicken thighs or use ground chicken, ground turkey, or even ground beef for a different flavor and texture. This is a great recipe for using up leftover chicken as well, just
- Make it vegetarian. Omit the meat and add in a can of black or white beans, sautéing and then mashing slightly for a vegetarian option. Alternatively, use refried beans.
- Add rice. Add some Mexican rice or Instant Pot Brown Rice to make it go further.
- Use any melty cheese. Pretty much any cheese will go well in these taquitos. Try Mozzarella cheese, Monterey Jack cheese, Pepper Jack cheese, a Mexican cheese blend, or another of your favorite melty cheeses!
- Add spice. If your family is sensitive to spice, start with half a package of taco seasoning and adjust the seasoning after the chicken is shredded and cooked. Alternatively, to spice it up, add some cayenne pepper, chili powder, hot sauce, diced jalapenos, or sliced jalapenos to the wraps to make them spicier.
Serving Suggestions
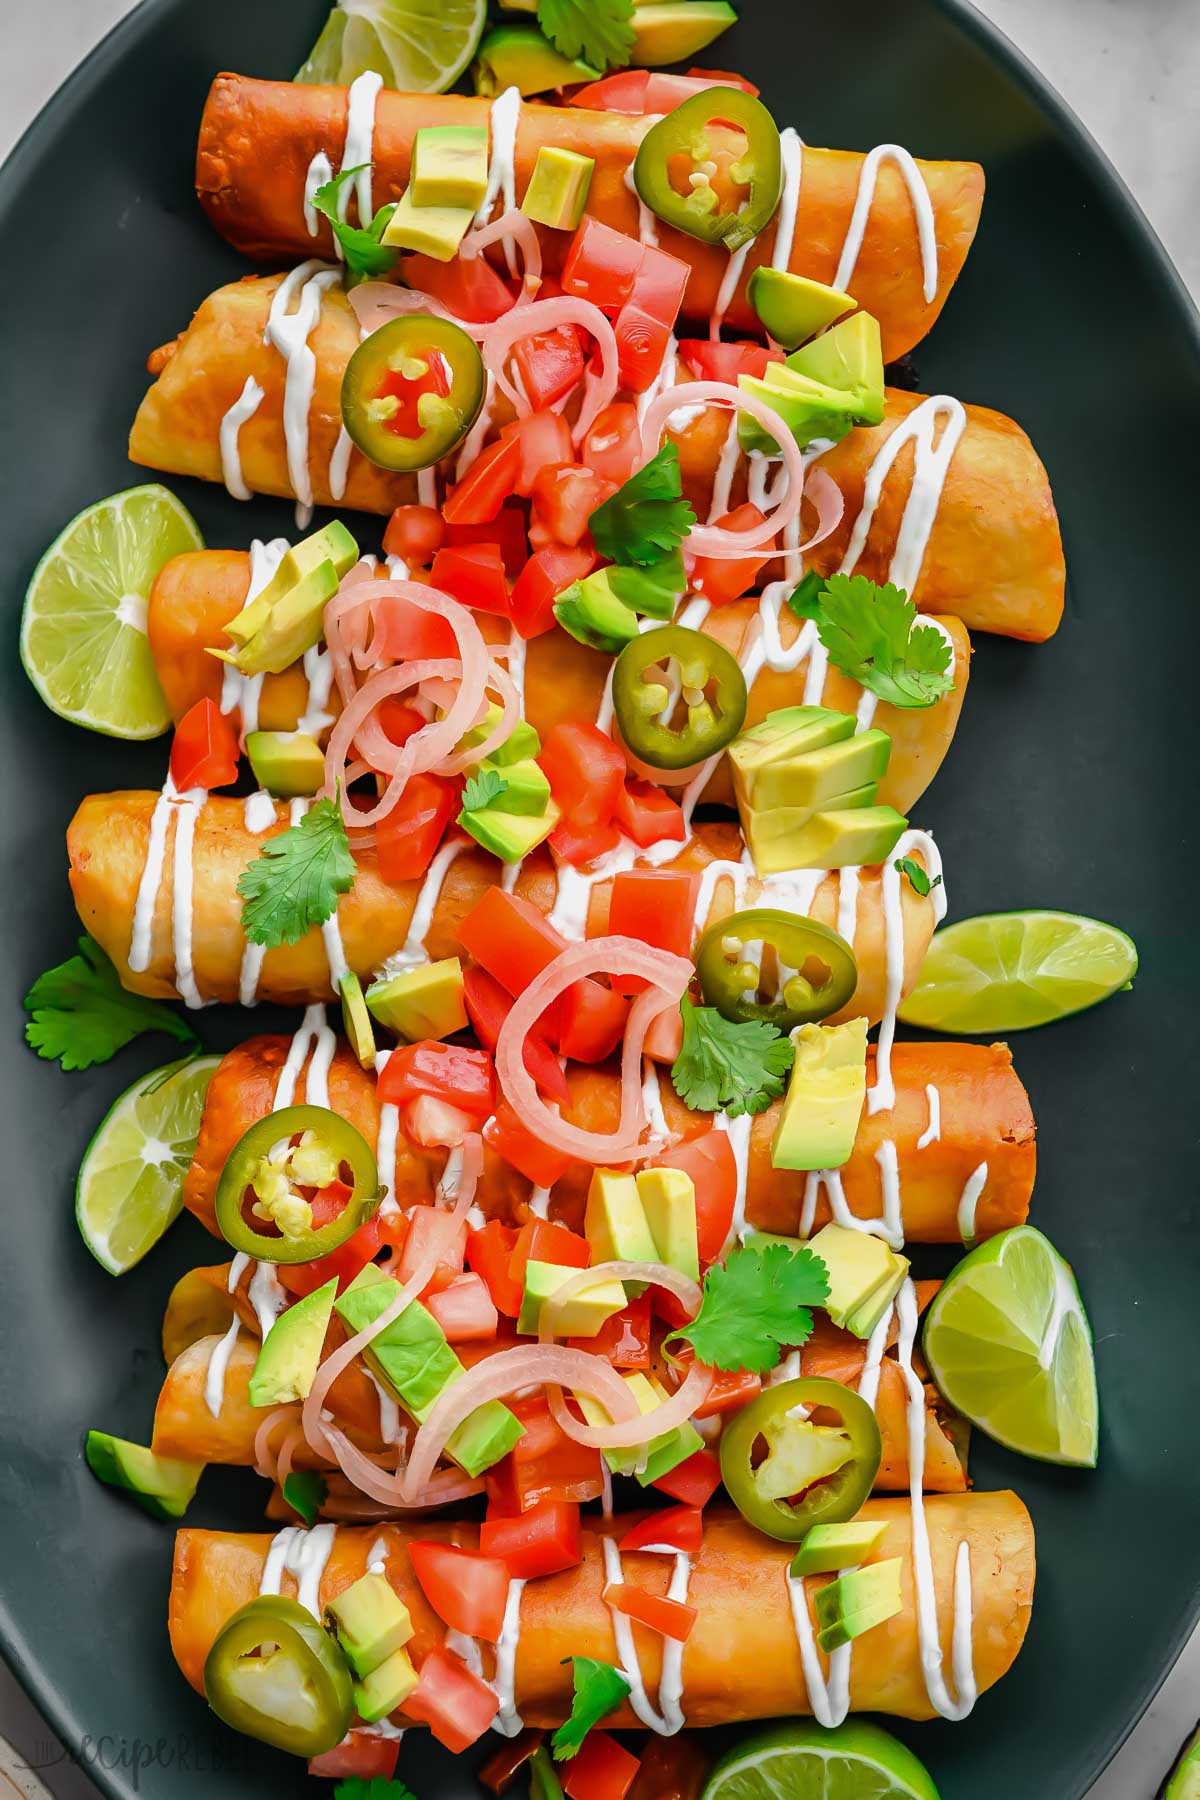
Of course, you’ll be serving your homemade chicken taquitos with some yummy garnishes like freshly chopped cilantro, lemon wedges, . Why not try this Homemade Salasa recipe, or even a Mango Salsa to mix the flavors up a bit!
Serve some sides with classic Mexican food flavors like this Taco Dip, Mini Mexican Wonton Quiches, or some Mexican rice.
You can also serve some extra veggies on the side for extra nutrients, try Corn on the Cob, or Air Fryer Green Beans.
More Easy Mexican-Inspired Recipes to Try
Chicken Taquitos recipe
Ingredients
- 1 tablespoon oil
- 1 medium onion (finely chopped)
- 1 green pepper (finely chopped)
- 1 red pepper (finely chopped)
- 2-3 boneless, skinless chicken breasts (1 lb)
- 1 package taco seasoning* (enough for 1 lb of meat)
- ½ cup tomato salsa (mild or spicy)
- ¼ cup low sodium chicken broth
- ¼ cup cream cheese (2 oz or ¼ package)
- 2 cups shredded cheese
- 8-10 medium tortillas (flour or corn)
- sour cream, shredded lettuce, cilantro, chopped tomatoes, and any other garnishes you desire
Instructions
- Heat a large skillet over medium-high heat and add the oil.
- Add the onions and peppers, and sauté until crisp-tender.
- Add the chicken breasts (whole) along with taco seasoning, salsa, and broth.
- Reduce heat to medium-low, cover, and simmer for 10–12 minutes, until chicken is cooked through (reaches an internal temperature of 165 degrees F).
- Remove the chicken from the pan and shred it, then stir it back into the pan with the cream cheese. Allow the cream cheese to melt.
- Remove the pan from the heat and allow the dish to cool slightly (you can also prep this filling ahead and refrigerate it for up to 2 days).
- Divide the filling between 8–10 tortillas (the number of taquitos you get will depend on how large your tortillas are and how much filling you put in them). Sprinkle each with cheese. Roll them up tightly, ready to be cooked.
Oven Instructions
- Preheat the oven to 425 degrees F and line a baking sheet with parchment paper.
- Place the taquitos on the prepared pan, coat lightly with non-aerosol oil spray and bake for 15 minutes, flipping once, until crispy. Allow to cool for 10–15 minutes before serving.
Air Fryer Instructions
- Preheat air fryer to 400 degrees F.
- Place taquitos in a single layer in the air fryer basket, lightly spray with non-aerosol oil spray and cook for 8–10 minutes, flipping once, until crispy. Allow to cool for 10–15 minutes before serving.
Stovetop Instructions
- Heat 1/2" of oil in a large skillet until a wooden spoon inserted into the oil creates small bubbles.
- Fry the taquitos on each side until golden brown and crispy. Allow to cool for 10–15 minutes before serving.
Notes
Chicken breast: you can swap the chicken breast for boneless skinless chicken thighs, or omit it and add in a can of black or white beans, sauteeing and then mashing slightly for a vegetarian option.
*Taco seasoning: If your family is sensitive to spice, start with half a package of taco seasoning and adjust the seasoning after the chicken is shredded and cooked.
Salsa: choose a thick salsa (not too watery), mild or spicy according to your tastes.
Tortillas: My tortillas are 7″ and I get about 8-10 taquitos depending on how much filling I cram in each one. If your tortillas are larger, or smaller, you will get a different yield. Storage
- Store Filling: Store your chicken taquito filling in an airtight container in the fridge for up to 4 days.
- Store Cooked Taquitos: Keep assembled and cooked chicken taquitos wrapped in plastic wrap or in an airtight container in the refrigerator for up to 4 days. Allow everything to cool to room temperature before storing it. The longer the assembled taquitos are stored, the soggy they will become.
- To Reheat: To reheat chicken taquitos, place them on a baking sheet and spray with cooking spray. Bake in a 350 degree F oven for about 15 minutes, or until they are heated through thoroughly and crispy on the outside. Alternately, reheat them in an air fryer for a couple of minutes.
- Freeze: You can either freeze the filling or the assembled taquitos. Place the filling or the assembled taquitos in a freezer bag or freezer-safe container and freeze for up to 3 months. Remove the taquitos from the freezer and place them on a baking sheet or dish lined with parchment paper. Cover with tinfoil and bake at 350 degrees F for about 40 minutes, removing the foil halfway through baking.
Nutrition Information
Want to save this recipe?
Create an account easily save your favorite content, so you never forget a recipe again.
Tried this recipe?
Tag @thereciperebel or hashtag #thereciperebel — I love to see what you’re making!
Tag @thereciperebel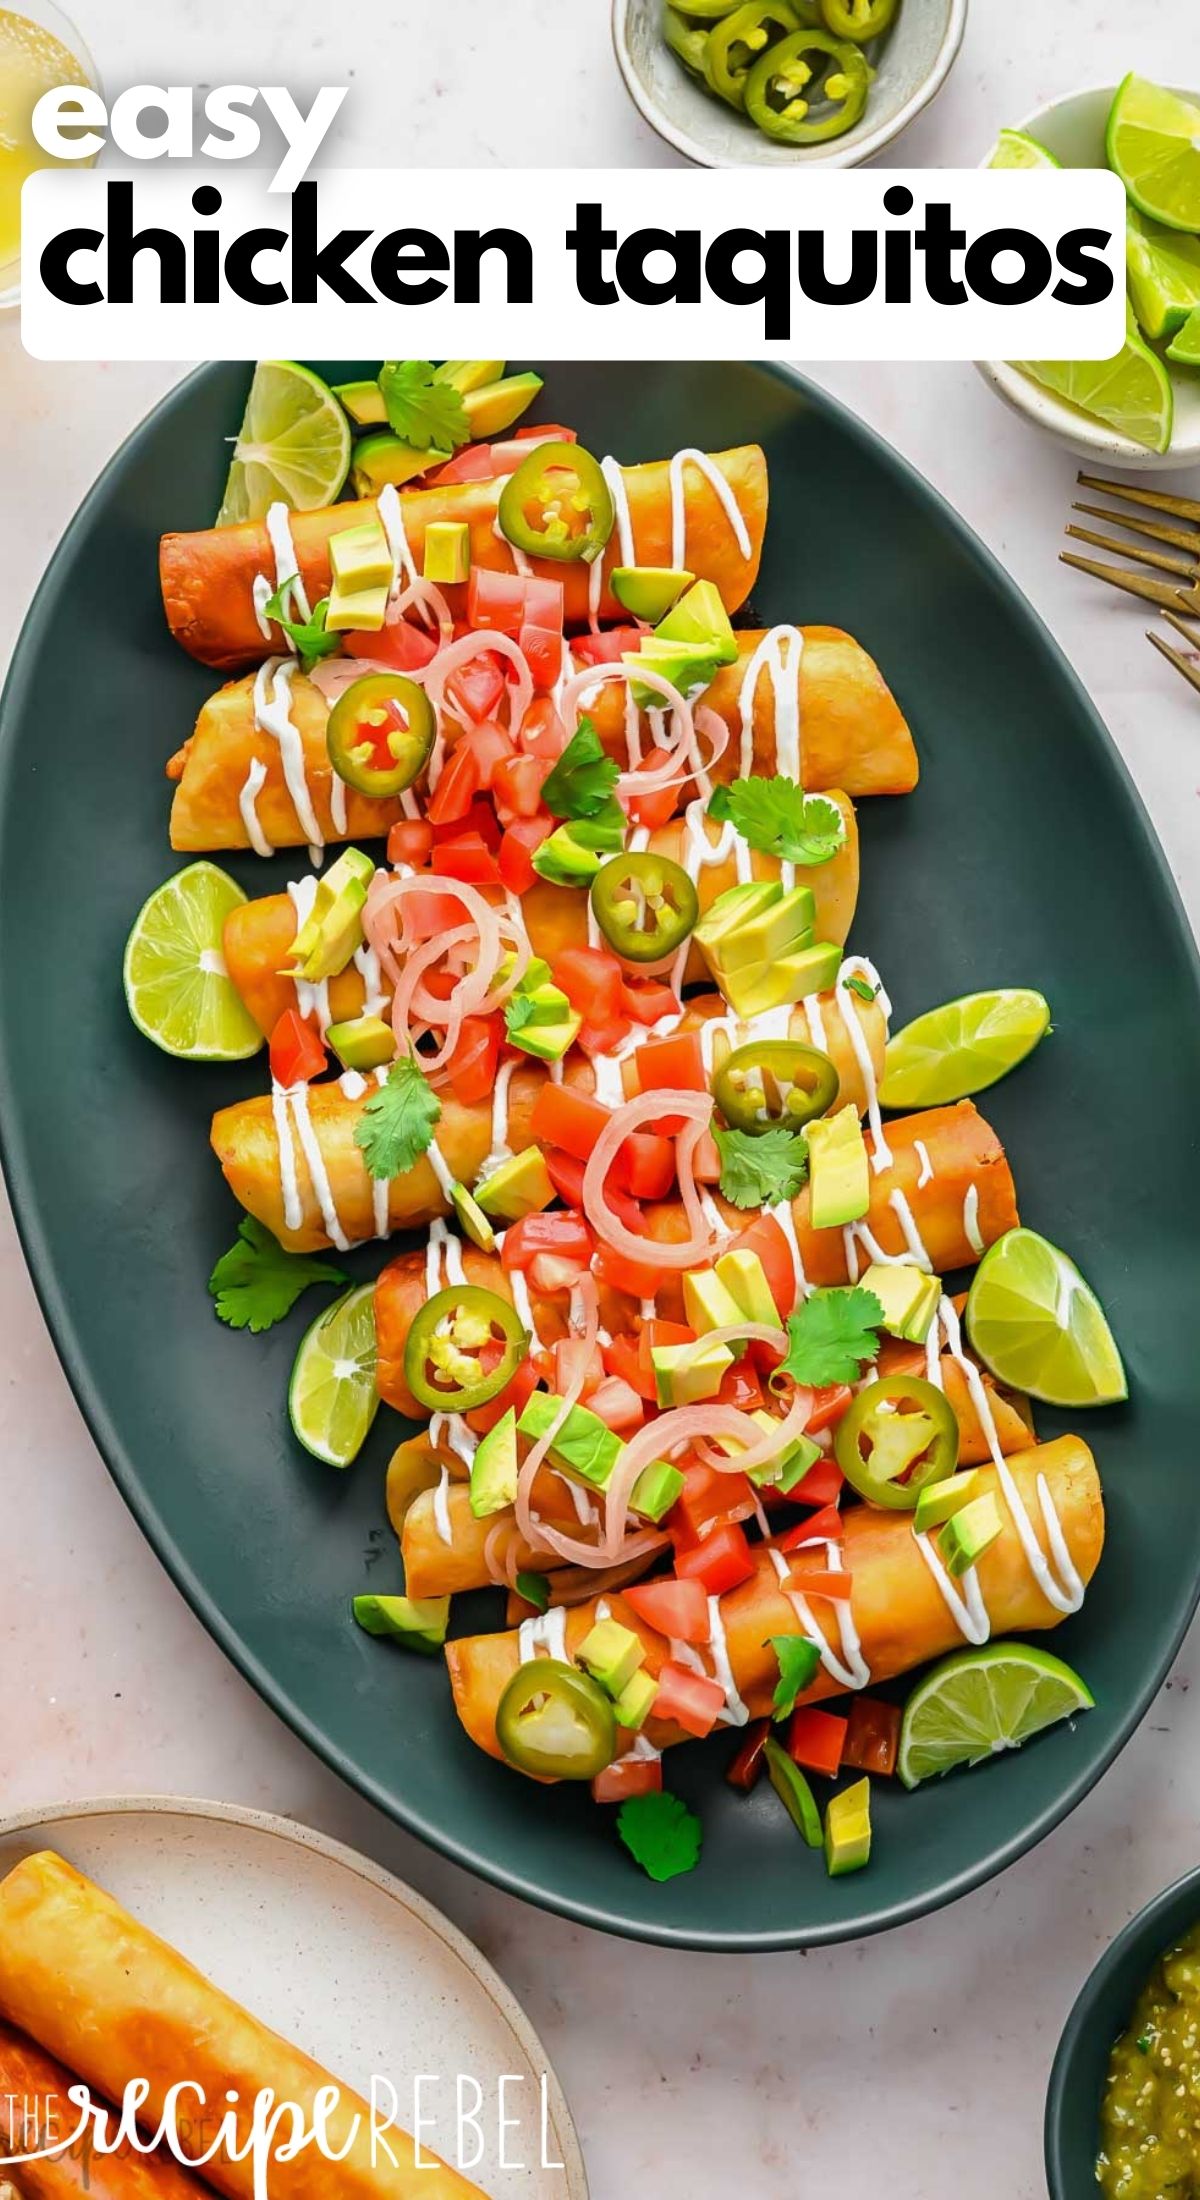



mikestice3 says
They are gggreat!
The Recipe Rebel says
So glad you enjoyed the recipe! Thank you for this kind review!